
If you have any issues completing these instructions, please email us at hello@cherrylivelight.com.
Estimated time to complete this installation: 5-10 minutes
Important: these are instructions for Cherry version 1.9.3 and below. If you are using Cherry version 2.0 or above (the latest version), please follow these instructions instead. We strongly recommend using version 2.0.
Requirements
- MacOS Catalina
- One of the supported digital audio workstations (DAWs), unless you plan on using manual MIDI control:
- Logic Pro X (Cherry 1.0 and up)
- REAPER (Cherry 1.1 and up)
- Pro Tools (Cherry 1.1 and up)
- Studio One (Cherry 1.2 and up)
- Cubase (Cherry 1.2 and up)
- Ableton (Cherry 1.9 and up)
- SoundFlow (Cherry 1.2 and up)
- Philips Hue Bridge with at least one compatible device connected. See the compatibility page for more details.
Step 1: Download Cherry
Step 2: Connect Cherry to Hue Bridge
Extract the downloaded .zip file by double-tapping it. The app icon should appear next to the .zip file.
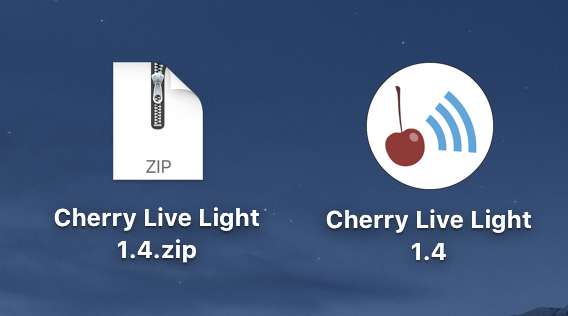
Run the newly-extracted app by double-tapping it.
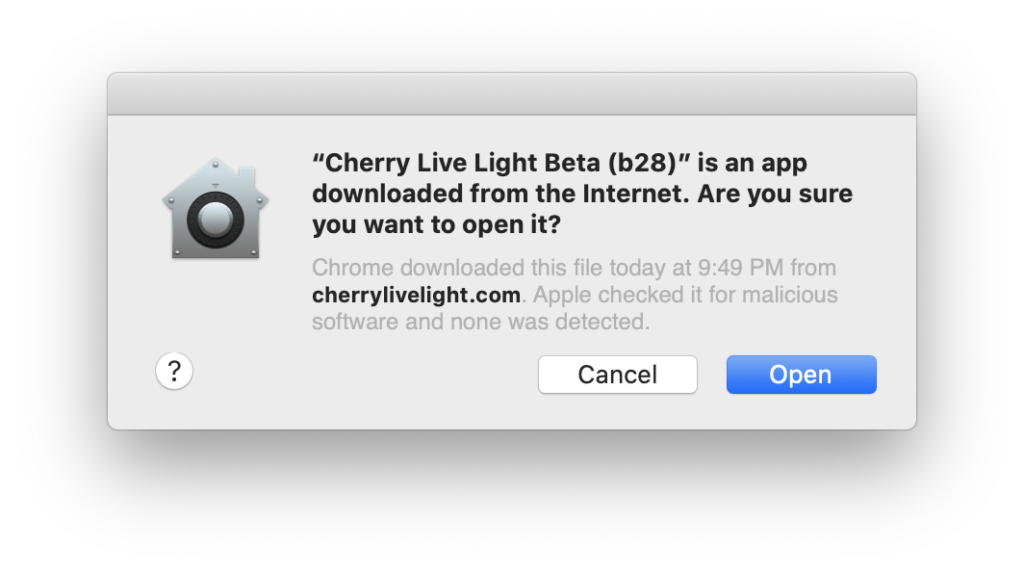
Tap Open on the internet download prompt.
Next, Mac OS may ask you to allow network connections. Cherry Live Light requires network access to control your Hue lights, so click Allow if this window appears.
Finally, in the purchase window that appears, enter your license or continue with the free trial.
When the app opens, it will automatically search for a Hue Bridge. If it finds one, it will ask you to press the circular button on the bridge. Press the button and hold it for about 1 second before releasing it. You should not have to do this again unless you re-download the app or replace your bridge – next time you launch the app, it should connect automatically.
Cherry should finish connecting to your bridge in a few seconds and you should see something like the image below!
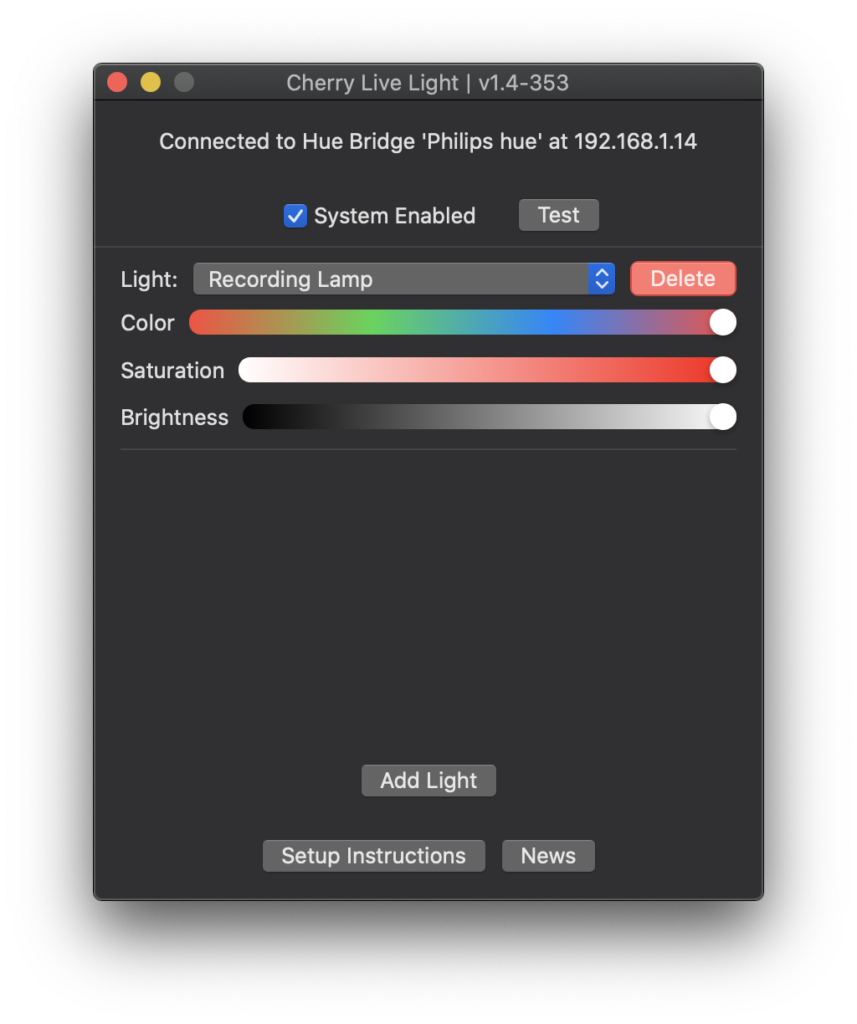
If you have allowed network connections, have waited 30 seconds, and still do not see a “Connected to Hue Bridge” status message like the image below, please try restarting the app. If you are still unable to connect, please contact us using the email at the top of this page.
Step 3: Connect DAW to Cherry
Choose your DAW from the list below and follow the instructions.
Logic Pro X
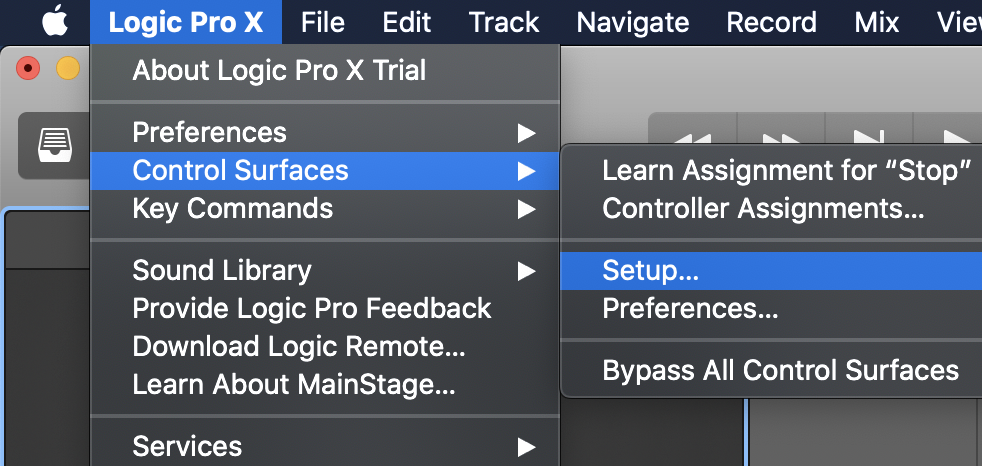
Open Logic. Navigate to Logic Pro X > Control Surfaces > Setup… in the menu.
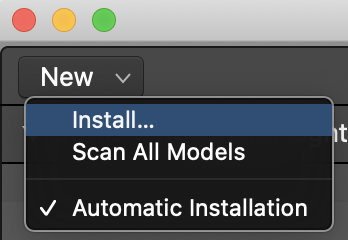
Select New > Install… using the drop-down in the upper left of the Control Surface Setup window that appears.
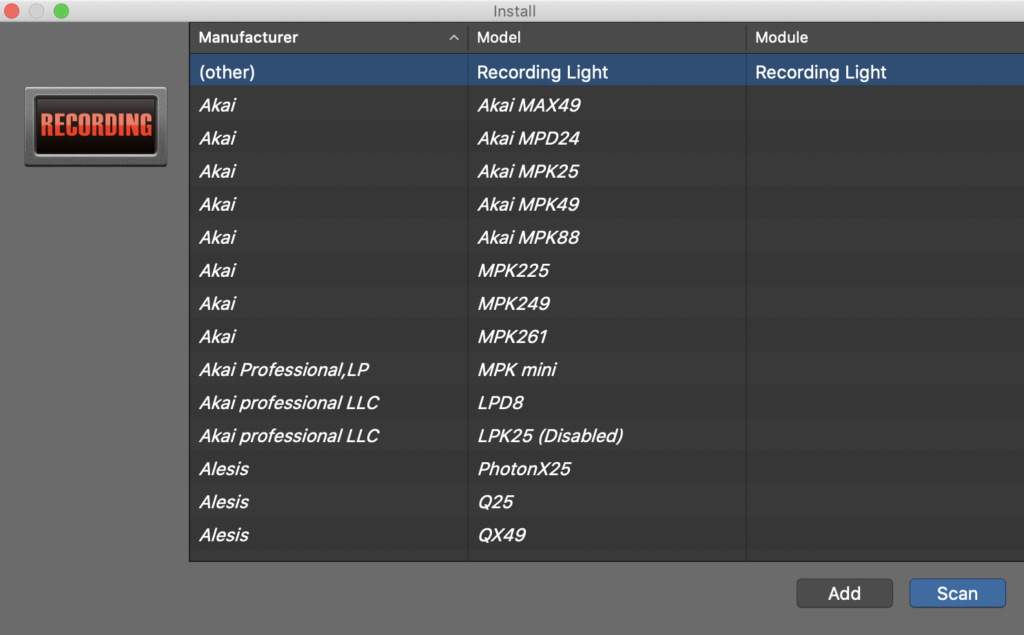
Keep the default selection (Recording Light) and press the Add button in the lower-left of the Install window that appears.
Back in the Control Surfaces window, select the new Recording Light you just added and bring up the Inspector by pressing the i key. Click the Output Port row and choose Cherry. The other options can stay unchanged.
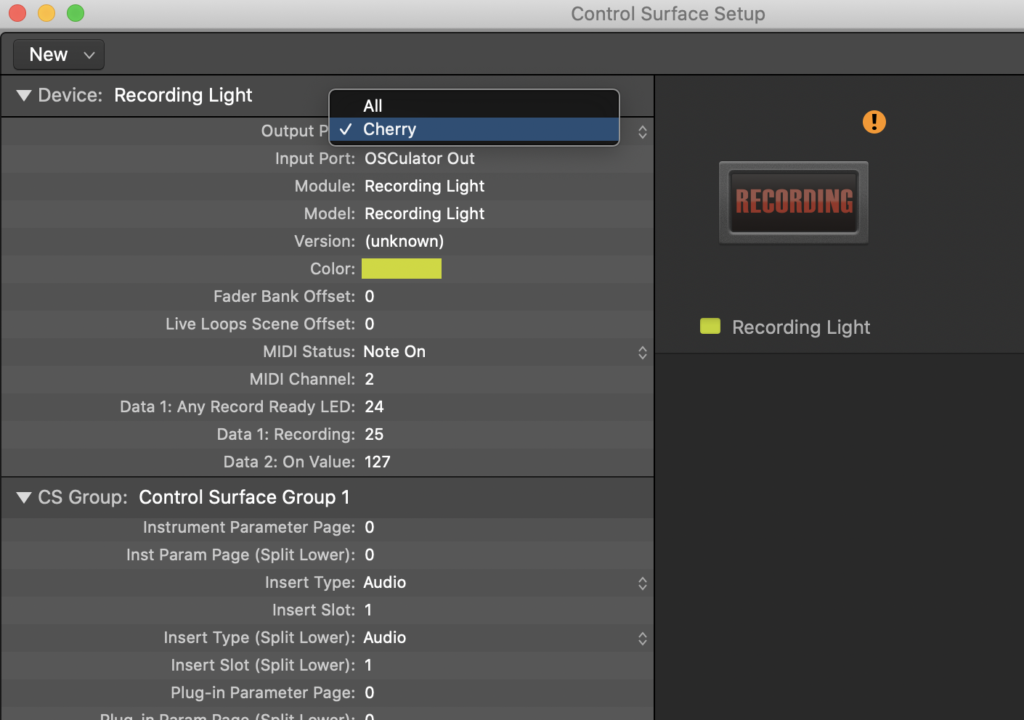
You can now close the Control Surface Setup window.
REAPER
In REAPER, open Options > Preferences using the menu.
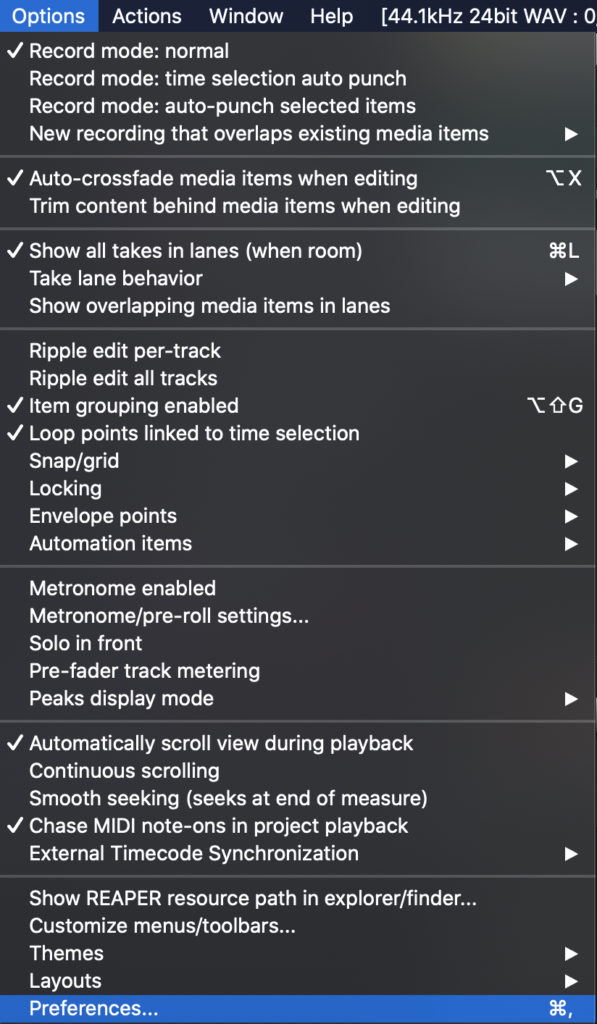
In the window that appears, choose Control/OSC/web near the bottom of the left panel (you may have to scroll).
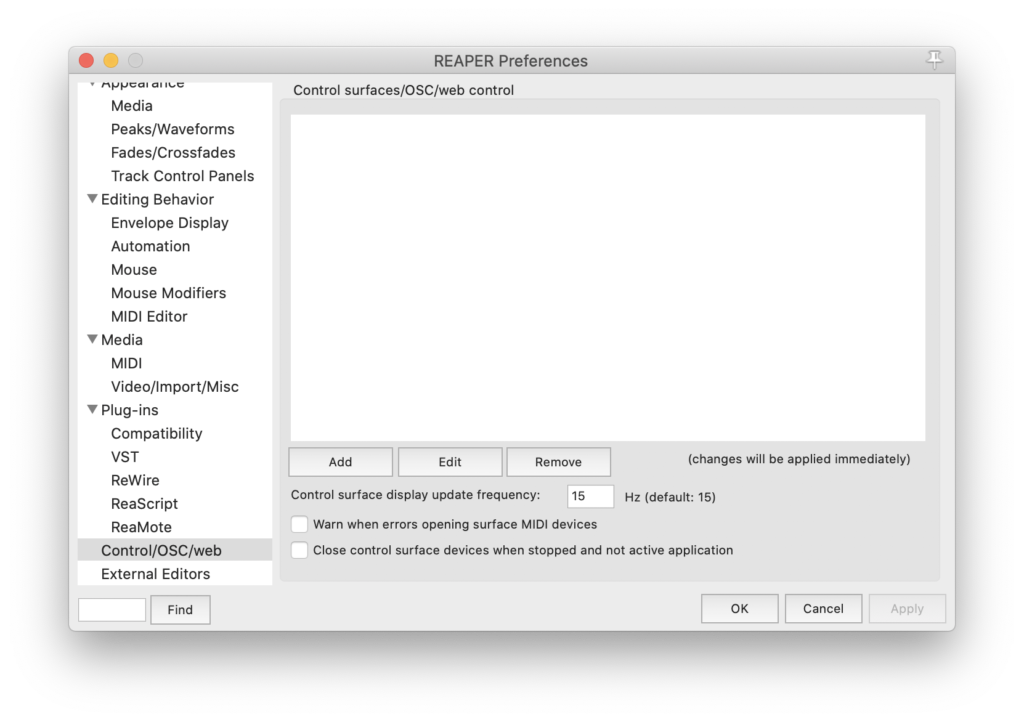
Click the Add button to add a new control surface.
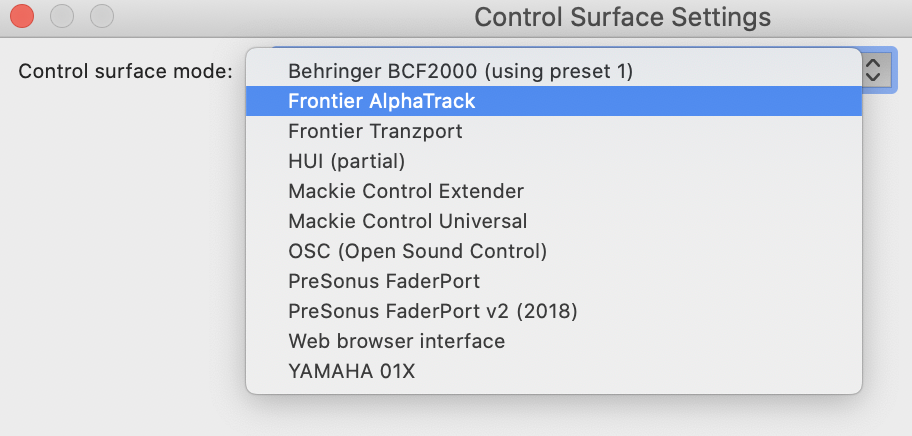
In the window that appears, choose Frontier AlphaTrack in the Control Surface mode drop-down.
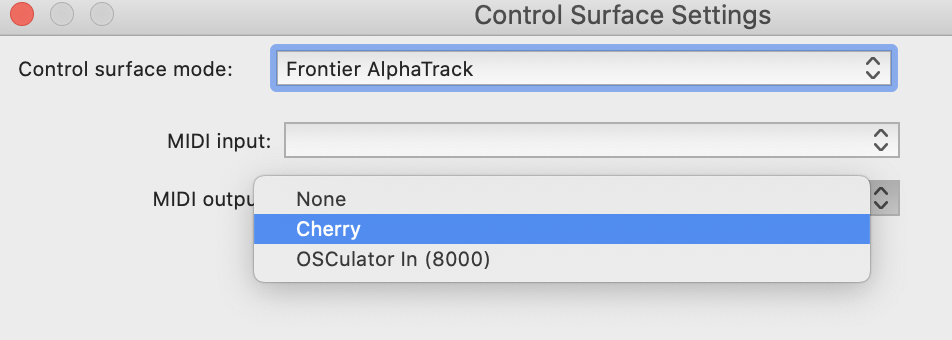
In the MIDI Output dropdown that appears, choose Cherry. The MIDI Input dropdown can remain blank, empty, or None.
Press OK and your control surface should now be listed.
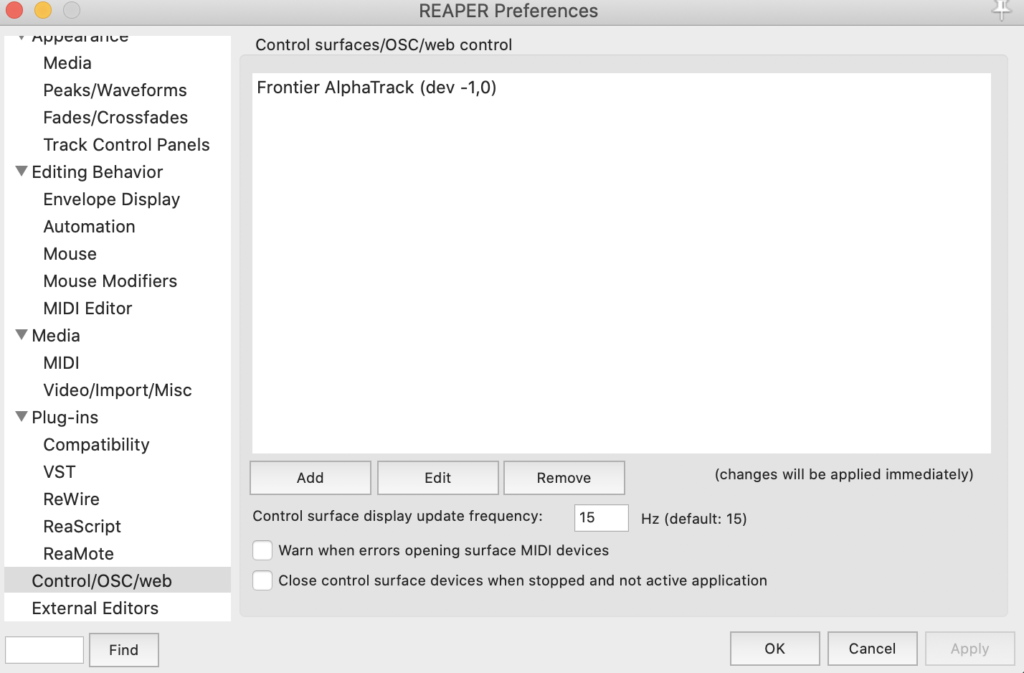
Press OK to return to the main REAPER interface.
Pro Tools
Ensure that Cherry is running.
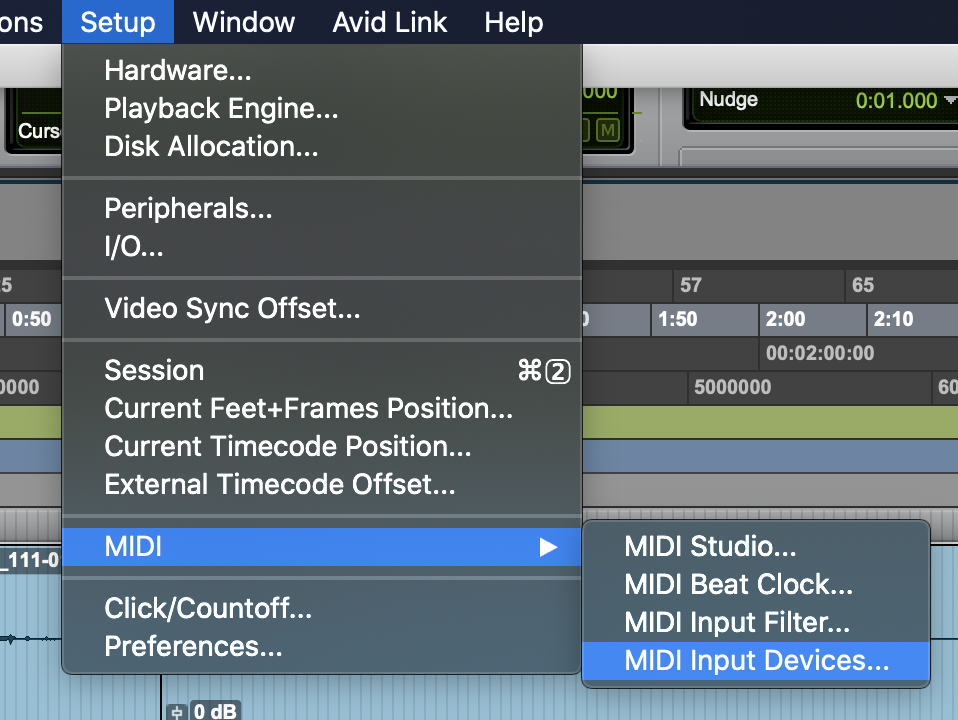
First, enable the global MIDI input for Cherry. In the Pro Tools menu, open Setup > MIDI > MIDI Input Devices…
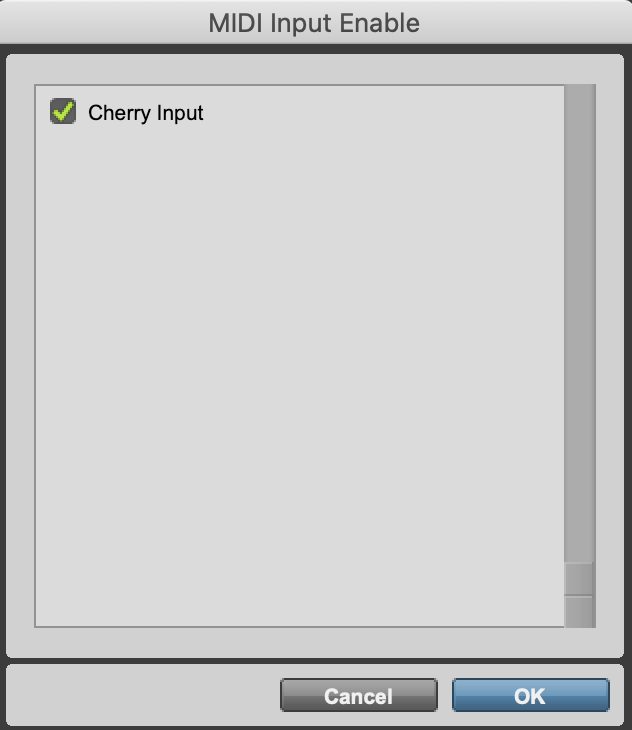
In the MIDI Input Enable window that appears, check the box next to Cherry Input, then tap OK to close the window.
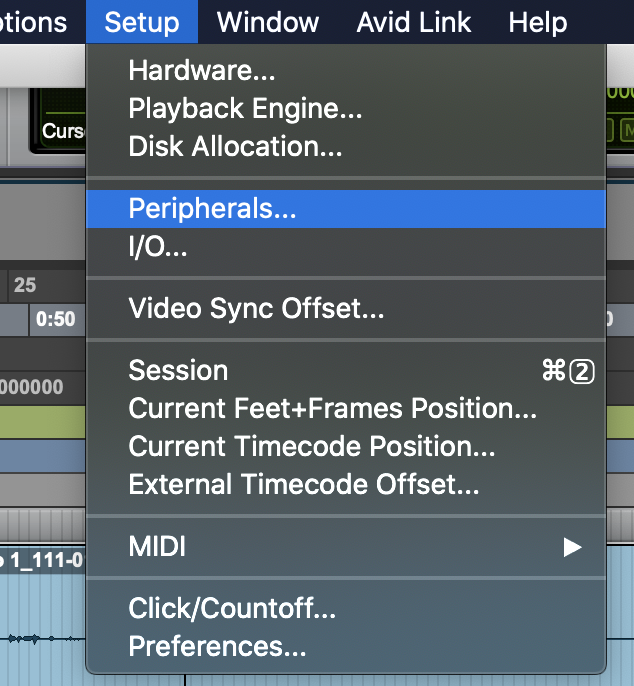
Next, add Cherry as a HUI peripheral. In the Pro Tools menu, open Setup > Peripherals.
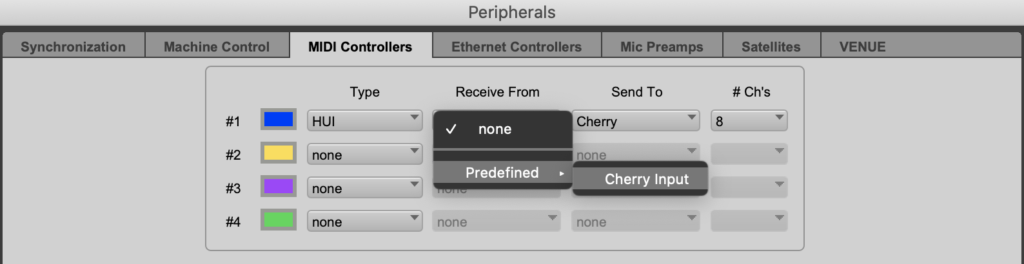
In the Peripherals window that appears, go to the MIDI Controllers tab.
Choose a row that is not already being used. Set the Type to HUI, Receive From to Cherry Input, Send To to Cherry, and leave # Ch’s at 8.
Tap OK to close the window.
Studio One 5
Tested on Studio One 5 Prime
Ensure that Cherry is running.
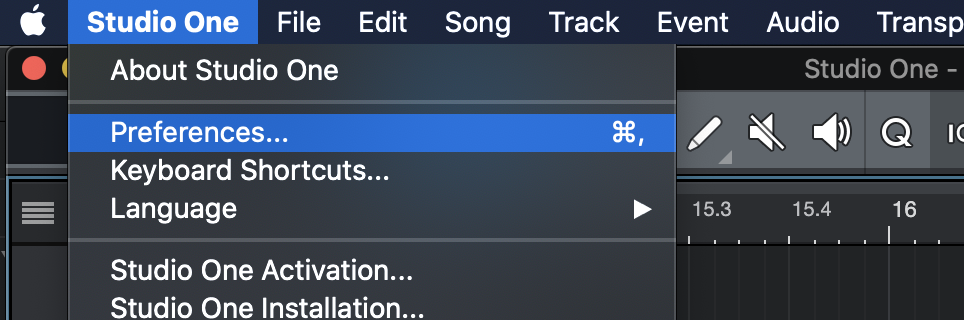
In the menu bar, open Studio One > Preferences.
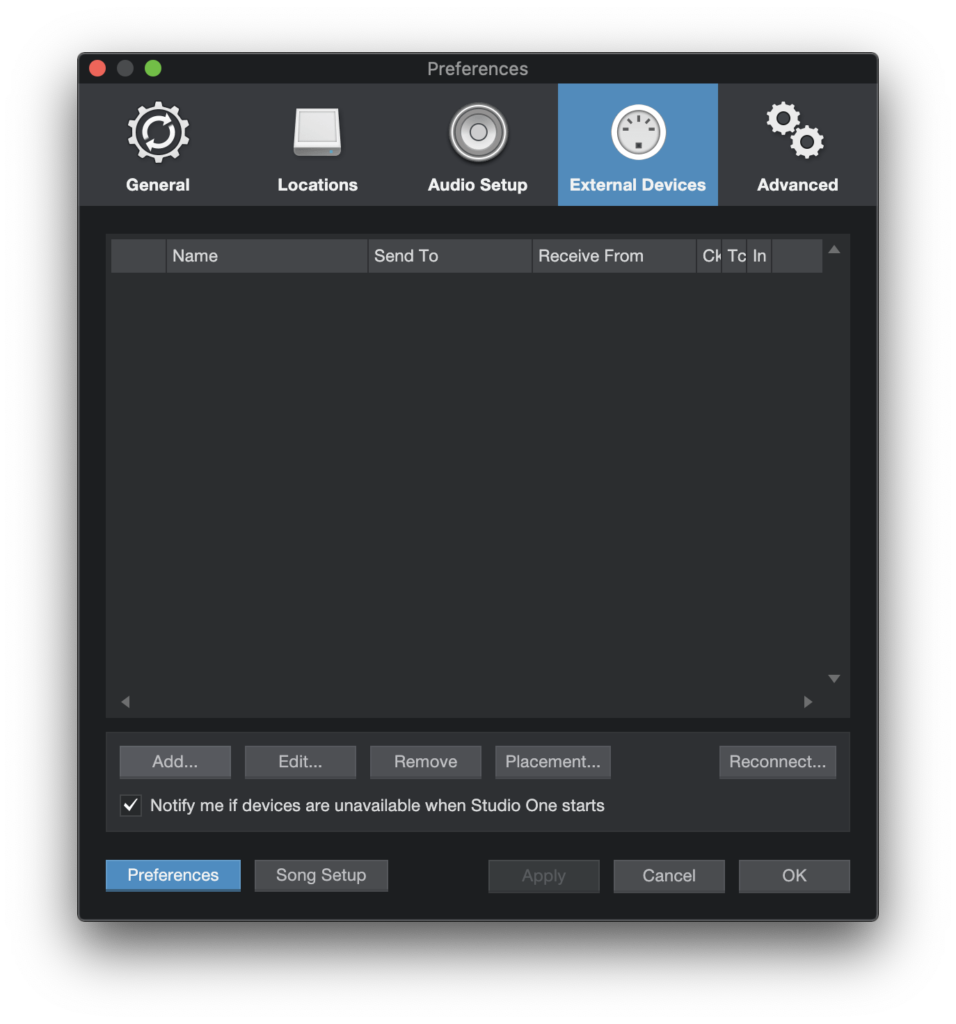
In the Preferences window that opens, go to the External Devices tab and click the Add… button.
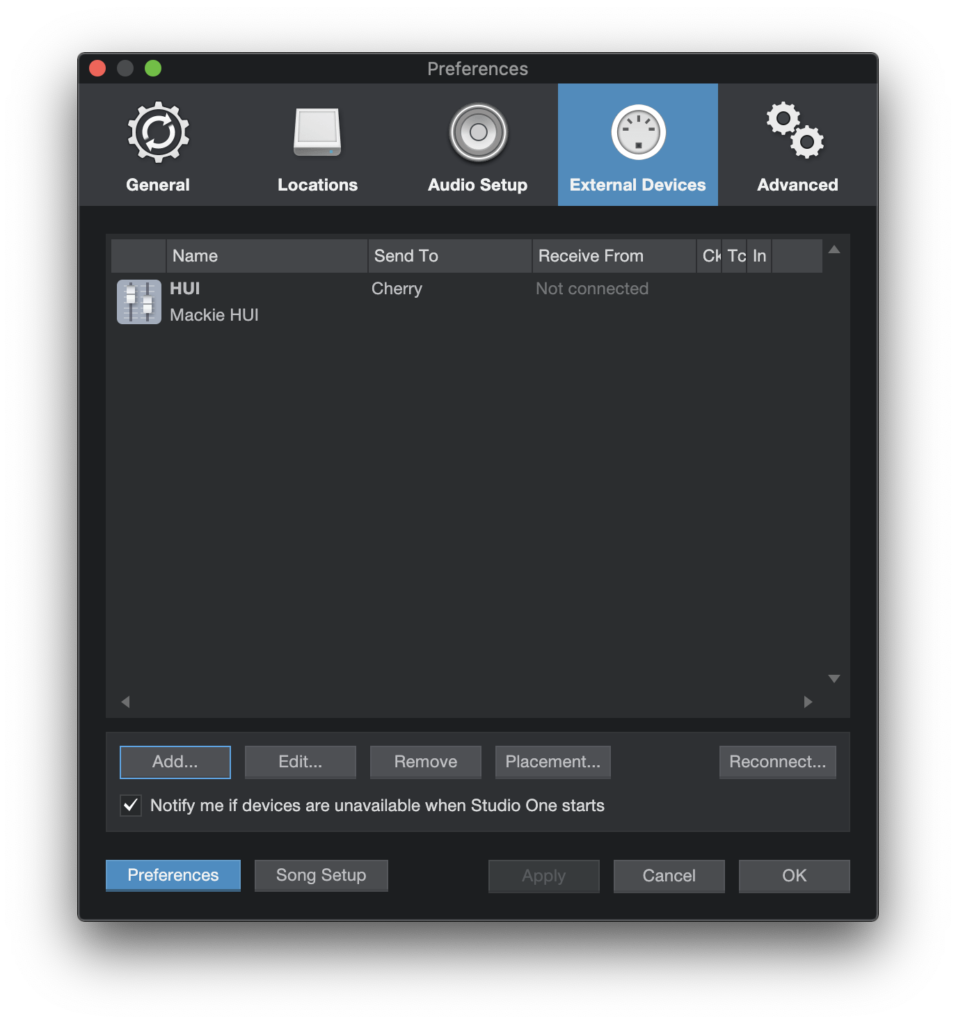
In the Add Device window that opens, choose Mackie > HUI in the panel on the left (you may have to scroll to find it). In the Send To dropdown on the right, Choose Cherry.
Click the OK button to close the Add Device window. The new device should be listed.
Click OK to close the preferences window.
Cubase
Tested on Cubase LE AI Elements 10.5
Ensure that Cherry is running.
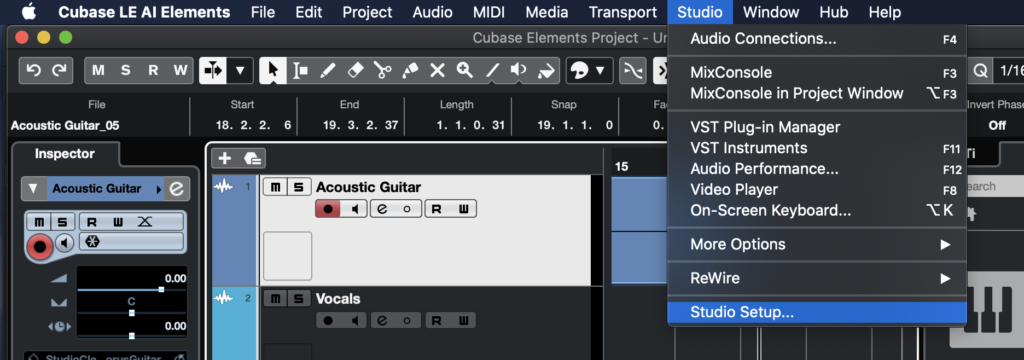
In the menu bar, open Studio > Studio Setup…
In the Studio Setup window that appears, choose Remote Devices in the left panel.
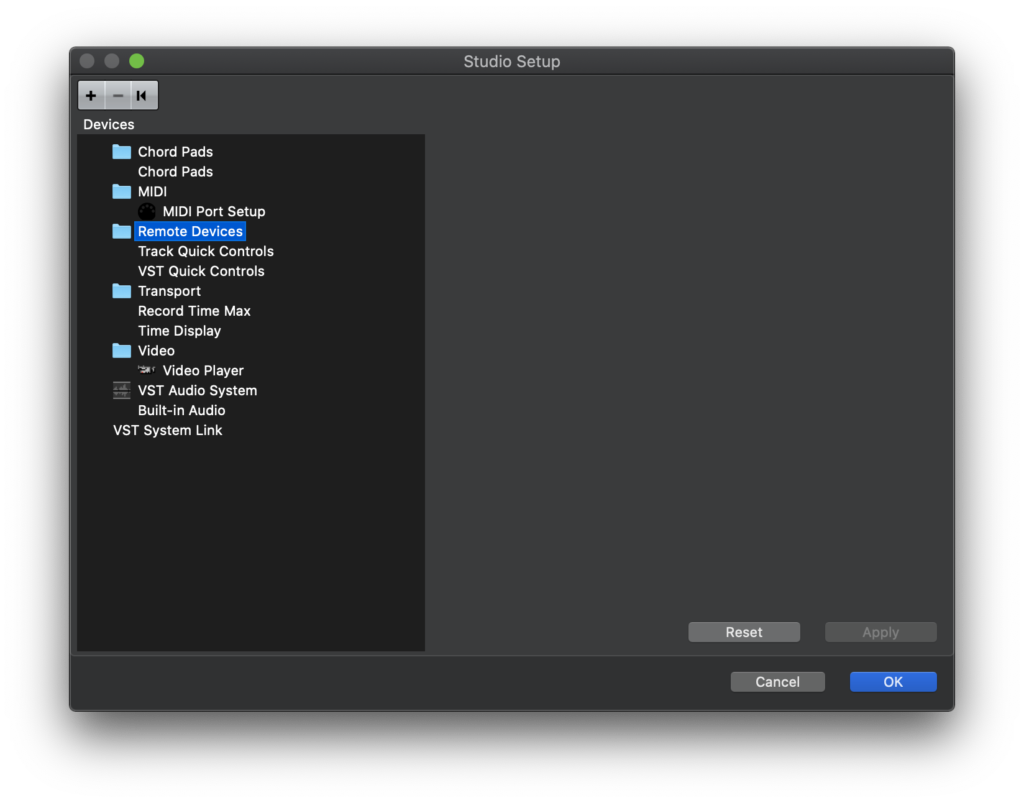
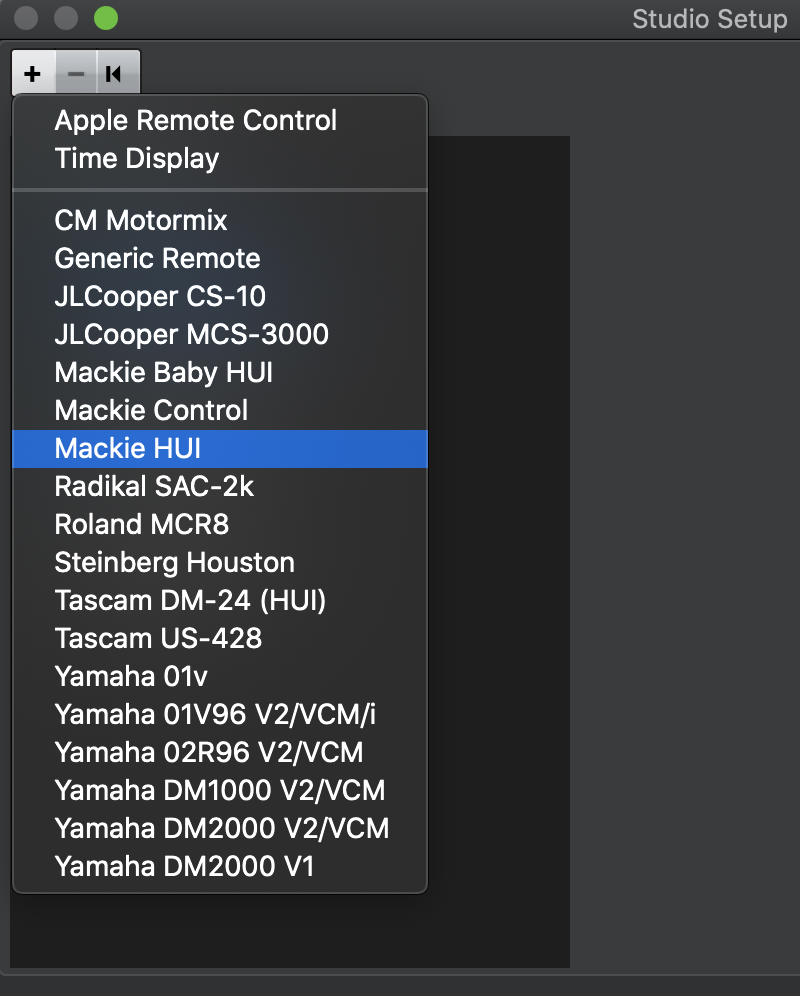
Click the + button in the upper left and choose Mackie HUI.
Select Cherry in the MIDI Output dropdown in the right panel.
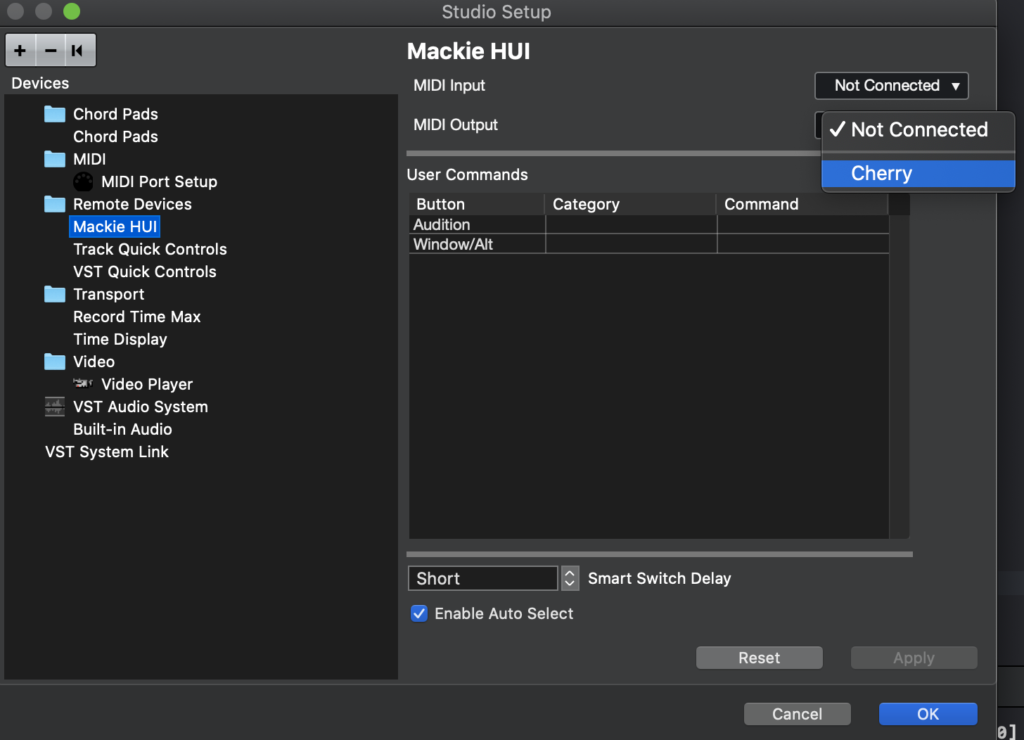
Tap the OK button to close the Studio Setup window.
Ableton
Ensure that Cherry is running.
In the Ableton menu bar, go to Live > Preferences.
Choose the Link MIDI tab on the left.
Under the MIDI heading, find an empty row.
Choose MackieControl Classic as the type.
Choose Cherry Input as the Input and Cherry as the Output.
Close the Preferences window.
SoundFlow/StreamDeck
The CherryLiveLight package (direct link) is available on SoundFlow thanks to Walter Everton. The package can be installed from there For manual setup, use the following SoundFlow code:
// Turn Cherry On

sf.midi.sendNote({
    outputNum: 1,
    midiNote: 25,
    velocity: 0,
    externalMidiPort: "Cherry",
});

// Turn Cherry Off

sf.midi.sendNote({
    outputNum: 1,
    midiNote: 25,
    velocity: 127,
    externalMidiPort: "Cherry",
});
Manual MIDI Control
Cherry advertises itself as a MIDI device. This can be used for direct control by many devices and custom DAW setups.
To turn on Cherry, send a Note On command to the Cherry MIDI device on note 25, velocity 127.
To turn off Cherry, send a Note On command to the Cherry MIDI device on note 25, velocity 0.
Step 4: Enjoy
Your lights will change to the color you’ve chosen when you start recording, and then go back to their original color (or turn back off) when you stop recording.